You are here: 7. Mobile Applications > 7.5. Paperless Stocktake > 7.5.4. Mobile Stocktake - PDA Procedures > 7.5.4.4. Mobile Stocktake - Add Items

Mobile Stocktake - Add Items

  1. When creating a stocktake on your PDA, press the Add button to start adding items into your stocktake batch.

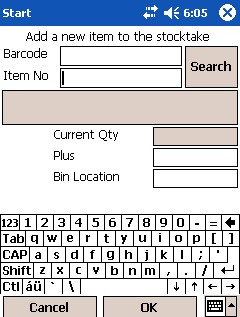
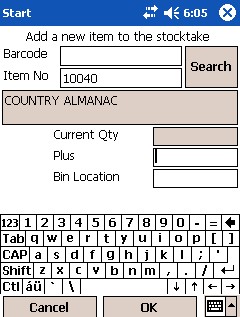
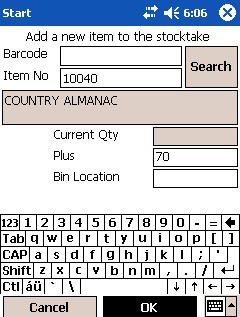
  1. Scan your item and confirm that the correct description is displayed.

  1. Alternatively, you can use the standard Search button to find the item you want to add.


Technical Tip

  • If an item does not scan, you can enter the item number in the Item No field and press the down arrow on the device. If found, the item description will be displayed and you will be prompted to enter the quantity.
  • If you are unsure of the item number, you can enter the barcode number in the Barcode field and press the down arrow on the device. If found, the item description will be displayed and you will be prompted to enter the quantity.
  1. Once an item has been found, entered the quantity of goods counted in the Plus field.


Technical Tip

2.8 Feature

Alternatively, if the Stocktake Scanning Mode field on the Edit Warehouse Mobile Settings screen is set to Yes (see "Stocktake Settings"), you can simply scan the individual items to automatically update the quantity.


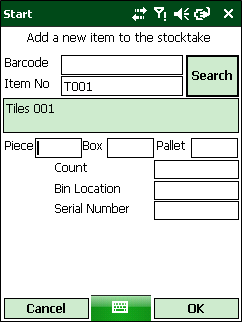
Technical Tip

2.8 Feature

If your Micronet system is set up to enter the quantity counted in pieces, boxes and pallets, Micronet displays the following screen.

  • Enter the quantity you counted in the relevant units, i.e. Piece, Box and/or Pallet. You can enter quantities in all three fields if required, e.g. 2 pallets, 6 boxes and 21 pieces. The Count field displays the quantity entered in square metres.
  • Enter or scan the Bin Location and Serial Number.
  1. Select the OK button.

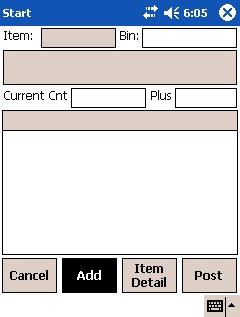
The details you just entered will appear as an information line.


Technical Tip

You can also enter or scan the Bin Location for the item. When you scan an item, you enter a quantity and, if required, scan a barcode. When the barcode is scanned, Micronet attempts to match it to a valid item number. If a valid item number can't be found (which would occur if you scanned a bin location), Micronet displays a message "Was that a bin location, Yes / No?". If you select Yes, the barcodes scanned will be entered into the Bin Location field.

When adding an item, check that the Bin Location has been set correctly. This is used to identify the position within the current location you are scanning. It may be the same as the location used in the description of the stocktake batch, or could be the aisle number in the current location as you progress through the stocktake.


  1. Review the lines to ensure they are correct.
  2. Repeat this process until you have finished adding all the items to the stocktake batch.
  3. At any time after you have added an item, you can Cancel back to the previous screen to see what items you have already counted, and you can change any quantities on that screen if required.